Thursday, December 31, 2015

Chewy Chocolate Meringue Cookies

I found this recipe in Parade Magazine.  It sounded good, so I decided to try it.  I modified it to fit what I happened to have in my pantry.


Chewy Chocolate Meringue Cookies

4 egg whites
1/2 teaspoon lemon juice
1/2 teaspoon vanilla extract
pinch of salt
3/4 cup sugar
12 oz. baking chocolate, melted and cooled
1/2 cup chopped walnuts, plus walnut halves for garnish
1/3 cup chopped Craisins


I had some semisweet, unsweetened and bittersweet chocolate left over from other baking projects.  I didn't have quite the 12 ounces needed, so I added some dark chocolate chips to make up the difference.  Once melted and swirled together it made a slightly dark chocolate addition to the cookies.  Use dark or semisweet chocolate, depending on your preference.


Melt the chocolate first and then get everything else ready so that it can cool sufficiently to be added to the egg whites.


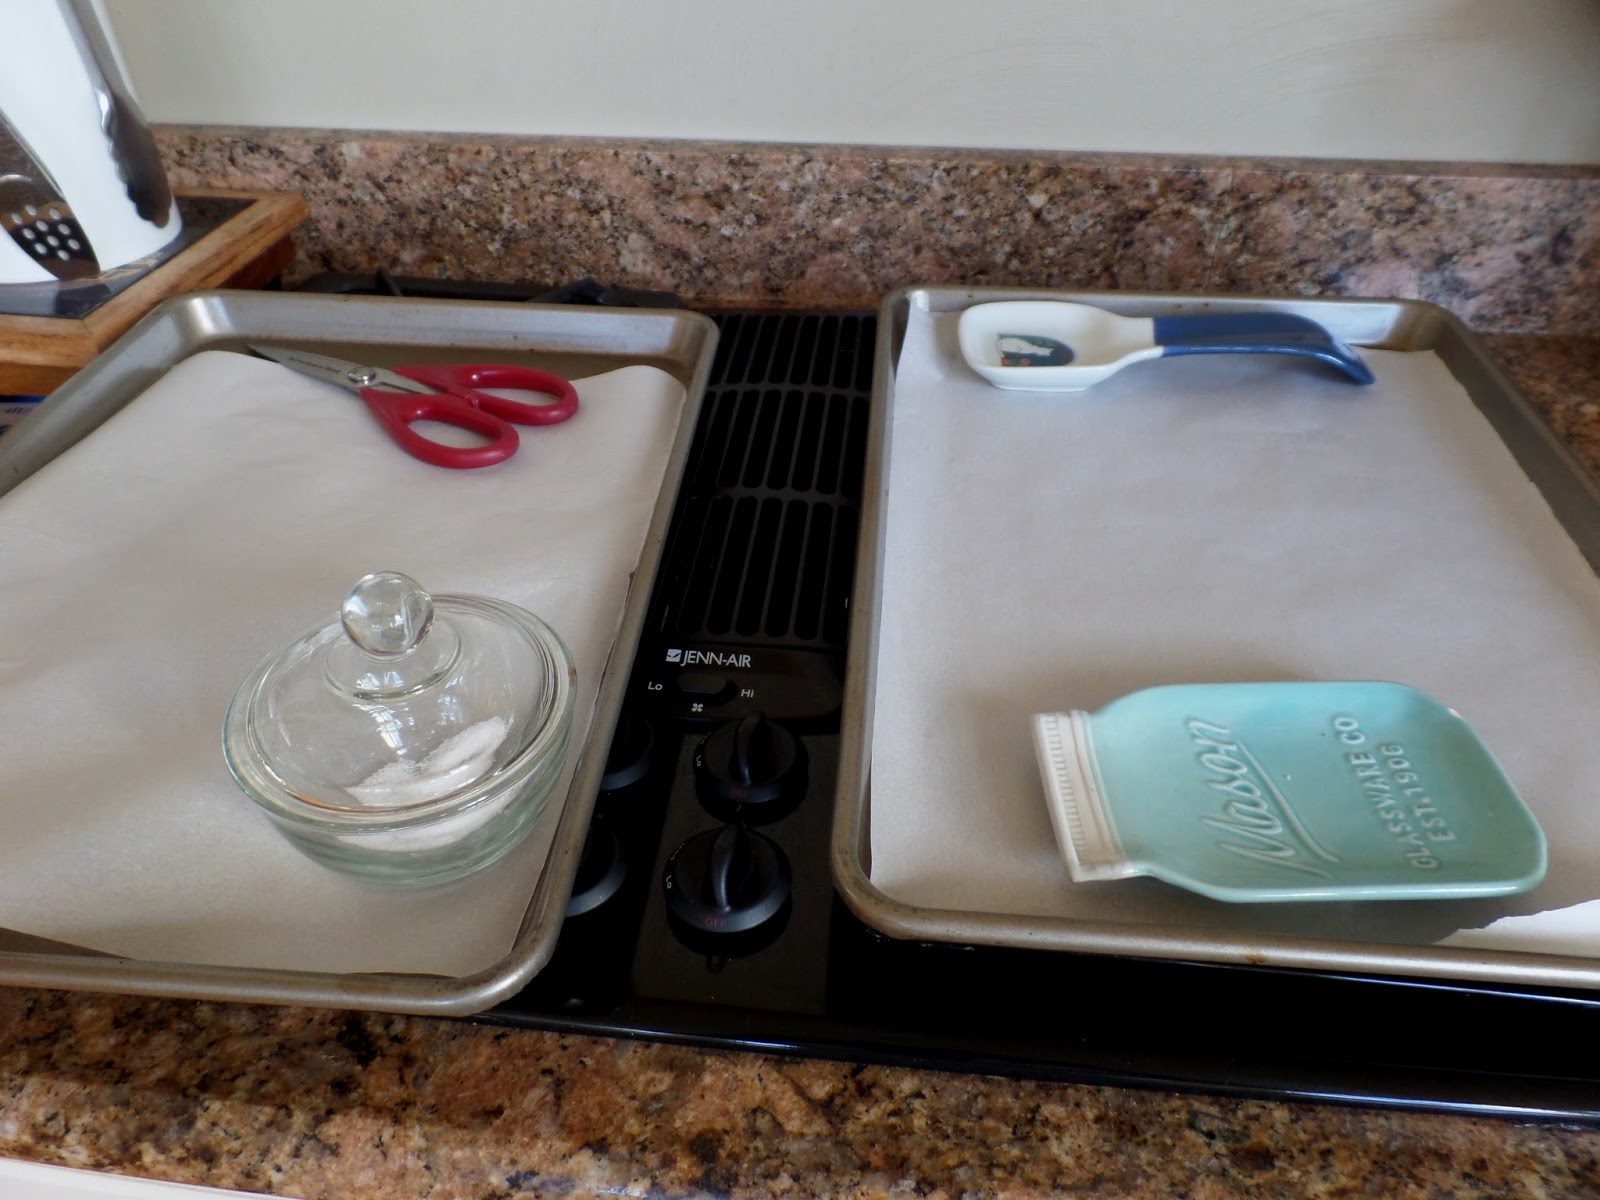
Preheat the oven to 325°.  Line 2 baking sheets with parchment paper and set aside. 


Place the egg whites, lemon juice, vanilla and salt in a stand mixer fitted with the whisk attachment. 


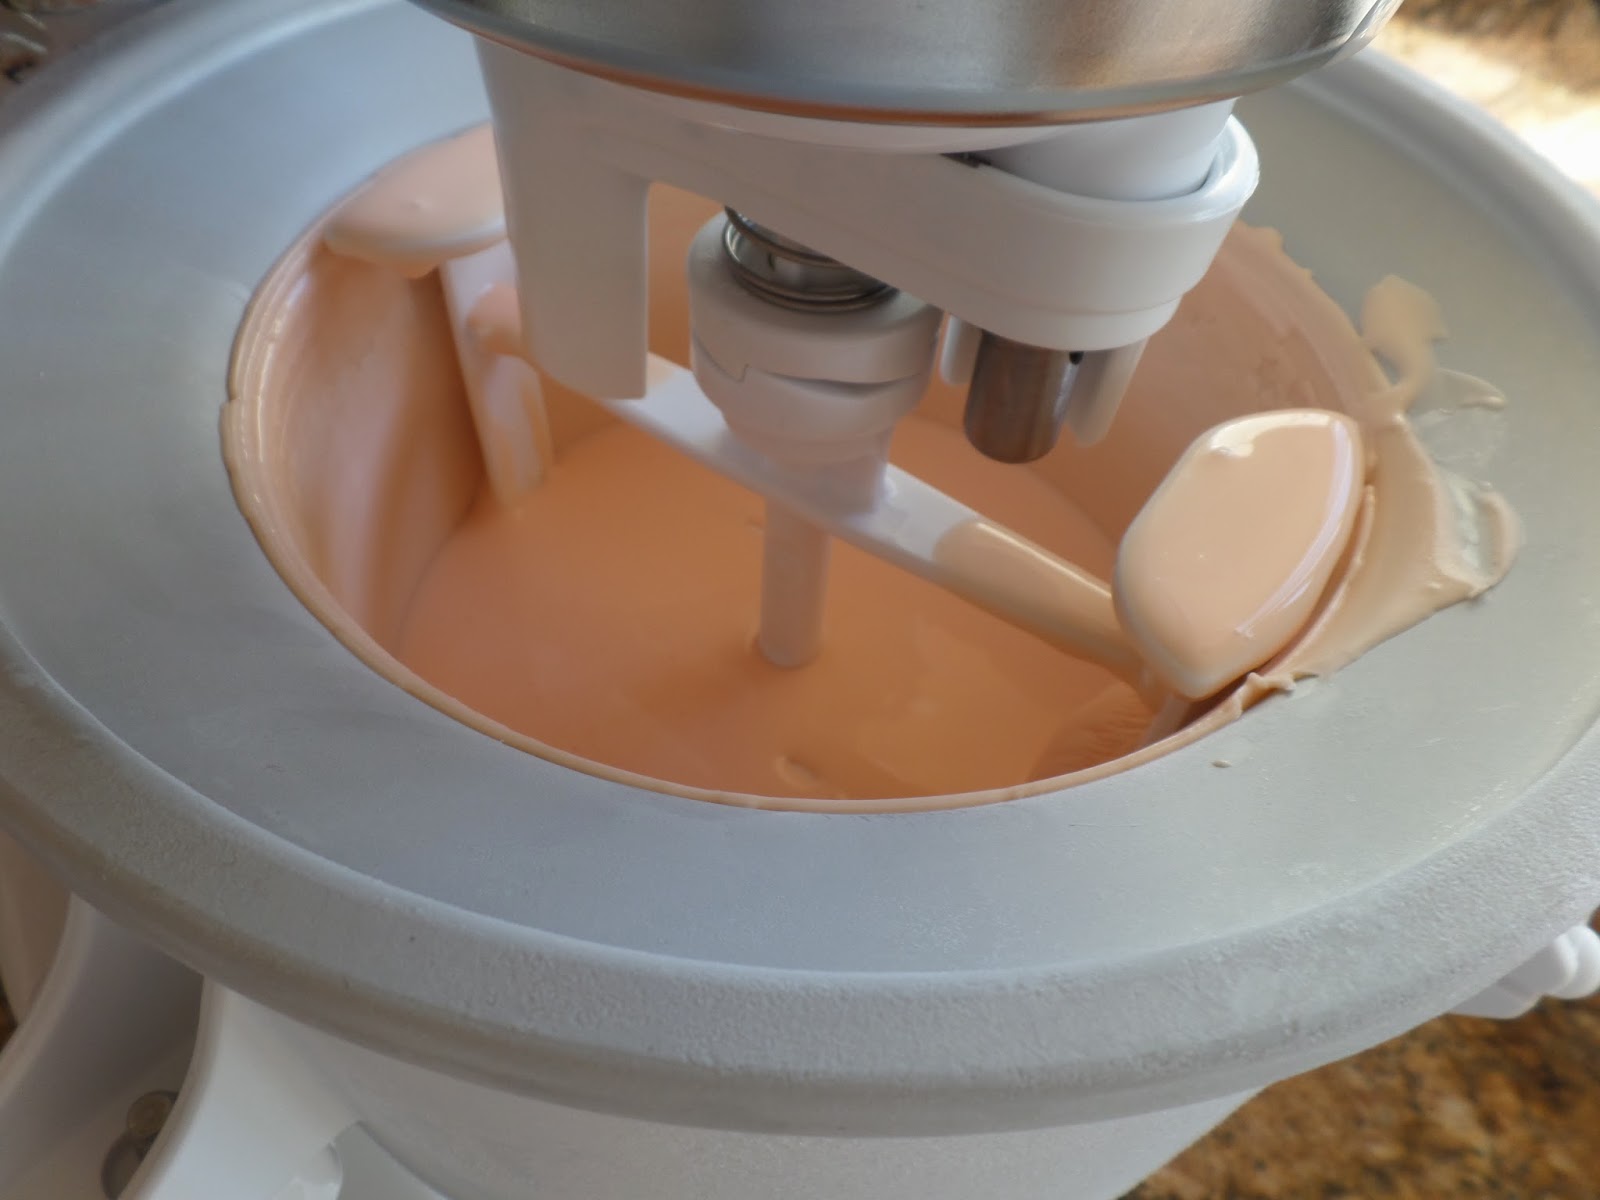
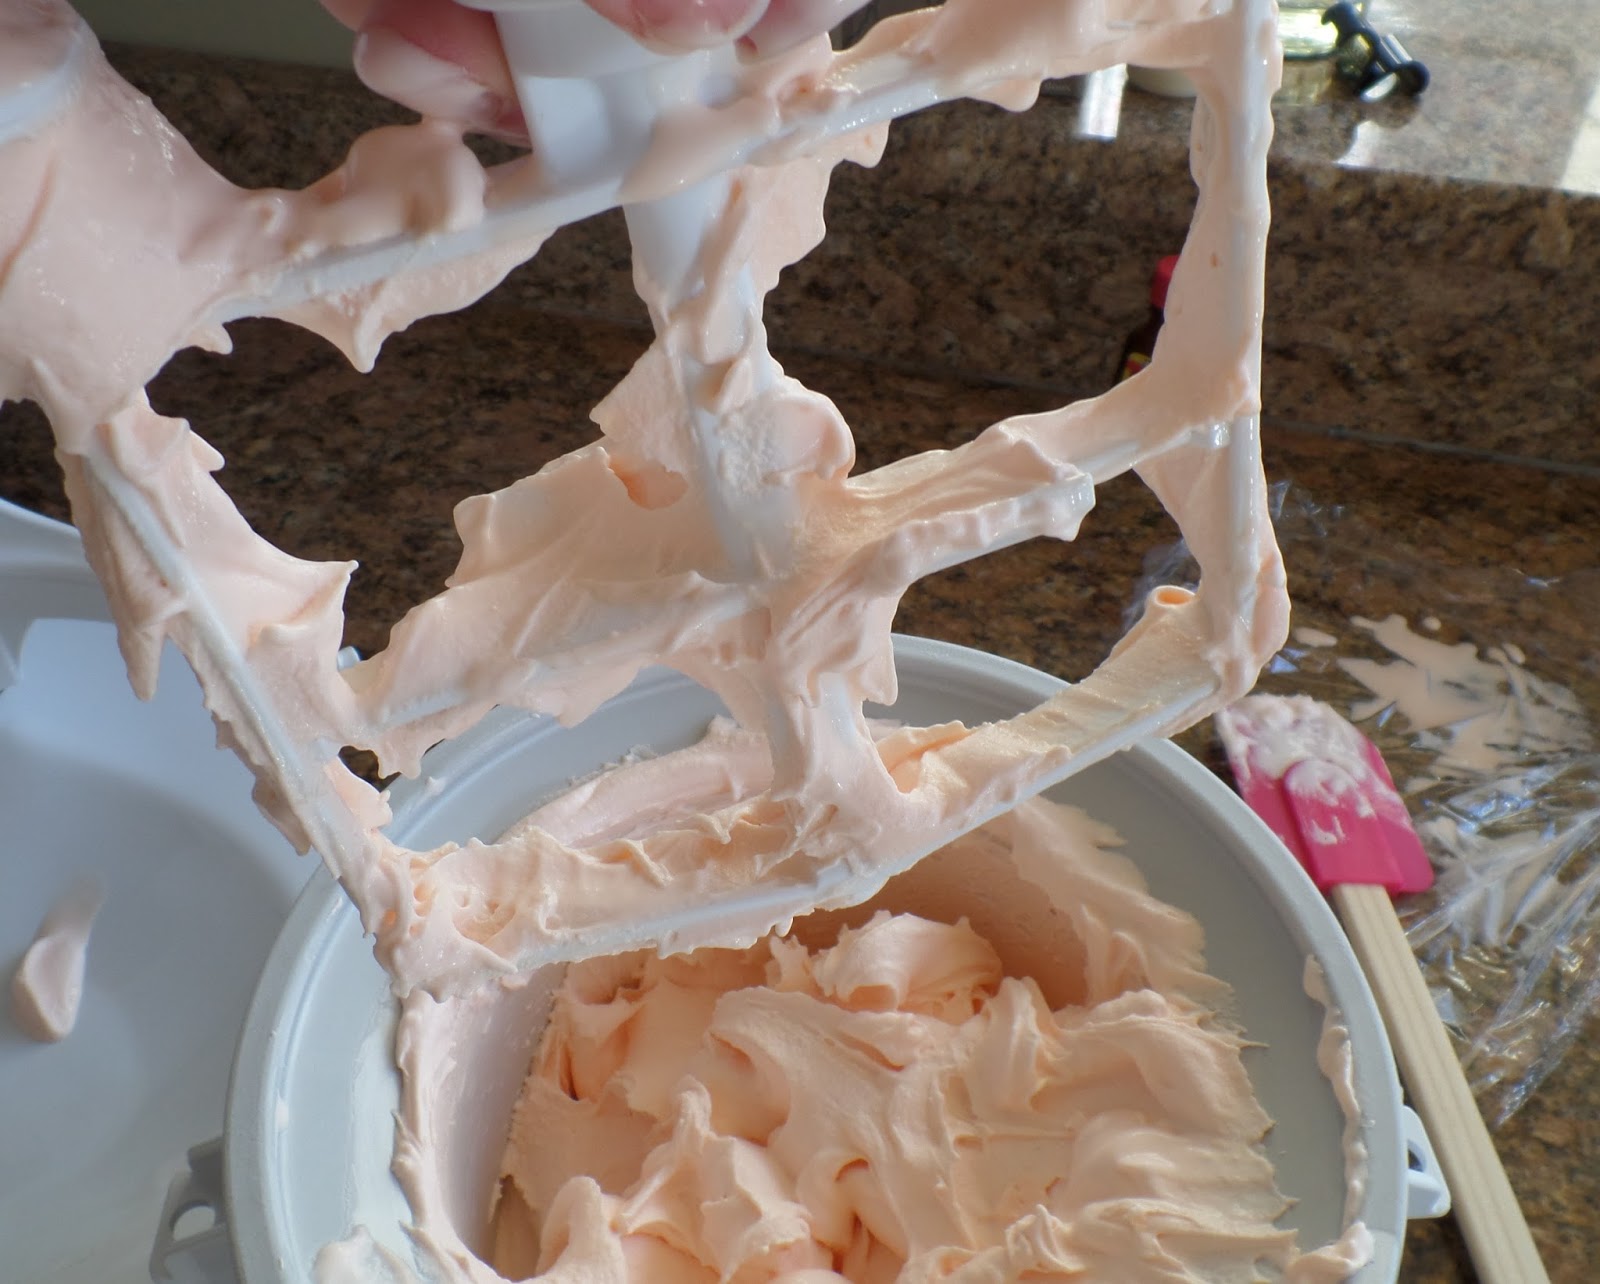
Whisk until the mixture becomes foamy and gradually add the sugar while still beating.  Beat until stiff peaks form.


If the chocolate has cooled, you can fold it, the chopped nuts and Craisins, gently into the egg mixture. 


When the chocolate has been incorporated and there are no more swirls of white, scrape half the mixture into a large Ziploc bag with the end snipped off. ( I have a whole box full of Wilton tips and pastry bags and never once thought to use it.  But feel free to do that with a medium round tip.)

Pipe 2 inch cookies onto the prepared cookie sheets.  Carefully fold down and refill the Ziploc bag with the remaining batter and pipe on to the prepared sheets.  You can use a clean bag if you don't want to get cookie goop on your hands..


Top the cookies with walnut halves and press slightly.  I didn't buy the pricey walnut halves and just  used bigger pieces from my giant bag of walnuts.  I left some NAKED. :-O

Bake for 15 minutes or until the outside it set and dry.  Cool on the pans and then they can be peeled off the parchment to eat or store in an airtight container.


These cookies were chewy and delicious and if you didn't know it, it would be hard to tell that they had fruit in them.  I liked the ones with a nut on top and without, so I guess you can decide how to dress up these cookies! 

You might even dust the nutless ones with powdered sugar just before serving.  If you want to be FANCY!

Wednesday, December 30, 2015

An Easter Stocking

Our daughter Tara got married in September. 


I have made stockings for all our kids.  And now I am making them for all their spouses.  They take about four months to finish.  I started in October.


I worked every day for several hours.  But it was not to be. 

I stopped working on the Santa part and used the graph to at least get Greg's name on the stocking.


Tara and Greg were the only "kids" coming here for Christmas.  Travis and Vanessa were busy having a baby for ME!  Trista had just come for the wedding and will be flying out to see the baby when she can get away.


So there was only one pitiful stocking on display.  I hung the semi-finished one up by the stretcher.  But how would Santa fill it, I wondered???


Santa is very clever and placed the stocking in front of the UNLIT fireplace and placed his donation behind the stocking.

Maybe I can finish it by Easter and start a new tradition.  Cadbury eggs and Peeps in a stocking!!

Sunday, December 27, 2015

Christmas Eve

There are some things happening in our family that are very sad.  But we had some fabulous news that overshadowed everything.


Our son Travis and his wife Vanessa had our first grandchild on Christmas Eve.


 Her name is Rachel Alice. They are both prodigious readers so they picked literary names.  Rachel is the name of the boat that rescued Ishmael in Moby Dick.  Travis recently finished Teddy Roosevelt's biography and he had a daughter named Alice.  My Aunt Suzy is planning on singing Alice Blue Gown on a recording for them to play.


Best Christmas gift EVER.

Monday, December 21, 2015

Peppermint Meringues

I recently made some peppermint ice cream.  The ice cream base called for 6 egg yolks.  I was tired of throwing away egg whites.  Imagine the poor chickens giving birth EVERY DAY.  Ouch.  Respect the egg!  I saved the egg whites, covered in the refrigerator and then placed them on the counter to come to room temperature.  I learned during my macaron baking stage that egg whites left overnight in the refrigerator and then brought to room temperature whip up into stiff peaks the best.  So ice cream one day ( or crème brulee, flan or other custard ) and meringue cookies the next!

I had 6 egg whites left over so I doubled the recipe.  I will give you the original recipe in case you don't want an entire pantry full of meringues!  If you are taking these to a party, go ahead and double.  It will all fit in your stand mixer.  I used a Kitchen Aid. 

Peppermint Meringues

3 large egg whites, room temperature
1/4 teaspoon cream of tartar   you will find this with the herbs and spices
dash of salt
1/4 teaspoon peppermint extract
3/4 cup sugar
red food color, optional


Preheat the oven to 225°. 


Line a large baking sheet with parchment paper.  It likes to curl up so I placed objects on the parchment to hold it until I started piping the meringues.  Set aside.


Place the egg whites, cream of tartar, salt, peppermint extract and food color, if you decide to use it, in the bowl of a stand mixer.  I used 3 drops for a very pale pink.  Beat until soft peaks form. 


Slowly add the sugar, 1/4 cup at a time while it is mixing.  Then continue to mix until very stiff peaks form.


Fill a pastry bag ( or Ziploc bag with the corner cut off ) fitted with a star tip.  Pipe stars onto the parchment paper.  I had so much meringue that I made bigger cookies and still ran out of room on the two sheets. 


I decided to experiment with a Silpat sheet.  They are reusable, fit the pan and never curl up on the corners.  I wanted to know how they would work with meringues and now was my chance.  


So I filled a pan with smaller stars and baked them in a 225° oven, also.

Bake for 90 minutes.  Make sure they do not brown.  After they cool for a few minutes, they may be gently lifted off and placed on a wire rack to finish cooling.

Allow to cool completely and serve.


These cookies are light and airy with a hint of peppermint.  They are pretty and NON FAT.  So have two...or three.


Or, you know, five, if they are small. 

If you are interested, the Silpats worked okay for the meringues.  The bottoms were smoother on the meringues baked on parchment paper.  The Silpat was faster to use, but then I had to wash it.  Personal choice.


Friday, December 18, 2015

Peppermint Ice Cream

I had invited company for dinner and knew that dinner wasn't complete for my guests without a bit of ice cream.  This called for another experiment in ice cream making in my Kitchen Aid.  The creamiest ice cream bases involve a lot of egg yolks.  This time I saved the egg whites to make meringue cookies at later time.  I'll give that recipe another day.

Peppermint Ice Cream

2 1/2 cups heavy whipping cream
1 1/2 cups half and half
6 egg yolks-save the whites for another use! Like meringues, for instance.
3/4 cup of sugar
1/4 teaspoon salt
about 2 teaspoons peppermint extract
1/2 cup chopped peppermint candies
5 drops red food color, optional

Freeze the Kitchen Aid ice cream base overnight.


Place the milks, sugar and salt in a large saucepan. 


Heat on medium, stirring to dissolve the sugar.  Don't let it boil.  Set it aside to cool.


Whip the egg yolks.  (I saved the whites, but you can toss them if you don't have a plan for them.)  Then you need to temper them so you can cook them and not end up with scrambled egg ice cream.  To do this, slowly drizzle a small amount (about 1/4 cup) of the partly cooled milk mixture into the whipped eggs, while stirring vigorously.  Then do it again.  And again.

  
Now pick up the pan and continue to drizzle and whip until you have incorporated the whole shebang into the eggs.  Then return the eggs and milk to the pan and place it over medium low heat. 

Cook for about 5 more minutes, stirring constantly.  Don't let it boil.  The mixture will thicken slightly and coat the back of the spoon.


Strain the mixture through a wire strainer and chill for at least 4 hours , or overnight.

When you get the ice cream base out of the refrigerator, it will be thick and sort of custardy.  Because it IS custard!  Add the peppermint extract.  I put in 1 teaspoon and tasted it.  Then I added a 1/2 teaspoon at a time, tasting after each addition.   I used 2 teaspoons.  You may need more or less depending on the flavoring you use and your own taste buds. 


I added a bit of food coloring to make it pink, but that is up to you.


Assemble the Kitchen Aid mixer with the ice cream attachment and start it on stir.  While it is stirring, add the ice cream base.  It will take about 30 minutes.  This is a good time to crush the candies.


My method was to unwrap and place the candies in a Ziploc bag.  Squeeze out the air and seal.  The stick that into ANOTHER Ziploc bag, squeeze and seal.  Place on a cutting board and whack away.  I used a muddler and a rolling pin and STILL I had a bunch that didn't smash sufficiently.  If you care for your teeth, pick out the big chunks.


When the ice cream has risen to the top of the mixer  and it appears to be struggling to mix, turn it off and remove the ice cream mixer bowl.  Scrape off the paddle and look around for a child to lick it clean. 


Scrape about half of the soft ice cream into a food saver container with a lid and fold in about 1/4 cup of the crushed candies.  Scrape the last of the ice cream into the container and fold in the rest of the crushed candies. 


The ice cream can be served now, but it will be very soft. 


Freeze it for a few hours and it will become ice cream consistency.


I chose to serve it with hot fudge drizzled over it.  You may not know that hot fudge drizzled over just about ANYTHING is a good idea.  But trust me on this!  I also added a few sprinkles of even more crushed peppermint candies.  Because it is almost Christmas and that means peppermint.


I wonder how it would taste in coffee?  Peppermint latte, anyone?

Thursday, December 17, 2015

It Is Mid December...and SPRING

We have lived in Southwest Virginia for about eight years.  We chose this part of the state for the relatively mild weather.  We wanted snow, but not too much and the average snowfall over winter is about ten inches.  That seemed doable. 

We have had some years with just snow flurries and one year with 18 inches overnight where we had all our 4-wheel drive vehicles stuck in the snow after sliding off the driveway. 

What we have never had is a WARM December.  Never.


Until now.  The problem is that we have had some freezing weather.  So all the deciduous trees have lost their leaves. 

But all the warm days have tricked the trees and plants into thinking winter is over and spring has sprung.


The Dogwoods are blooming.


The hydrangeas are blooming.


The grass is green and we should probably put gas back in the mower and take it down one more time.

I wore flip flops yesterday, for crying out loud.


And the true harbinger of spring, the daffodils are coming up.

This is just weird.

Wednesday, November 18, 2015

Chocolate Brownie Ice Cream with Fudge Swirl

I had company coming and wanted to make some ice cream with my Kitchen Aid stand mixer.  I got a nifty ice cream attachment for it and it has been languishing in my freezer.  Just hoping for someone to crave ice cream.  That would be me. And not just chocolate ice cream.  I can make brownies and add brownie bits to it.  Ohhh.  I also have fudge ice cream topping I can swirl in it.  A nice, simple, ice cream treat.


Chocolate Brownie Ice Cream with Fudge Swirls

2 cups whipping cream
2 cups half and half
2 ounces semi sweet baking chocolate
1 ounce unsweetened baking chocolate
1 cup sugar
1/2 cup cocoa powder
5 egg yolks
4 teaspoon vanilla
1/8 teaspoon salt
1 1/2 cups brownie bites
1/4 cup fudge for swirling


You have to freeze the Kitchen Aid ice cream tub for HOURS.  So make sure you put it in the night before you want to use it.  You also have to chill the ice cream mix for hours.  I found someone that suggested freezing it with lots of stirring for 2 hours and then mixing it in the Kitchen Aid, so that is what I did.  It comes out soft serve and can be eaten that way.  But it really needs to freeze for a few more hours or overnight.  This is a plan ahead type of thing!


First I made brownies so they could cool and be ready to add in to the ice cream at the end of mixing.  You can purchase premade brownies if you wish.  Just make them according to the package.  I used the recipe for the fudgy type brownies, rather than the cake brownies.


Heat 1/2 cup of the whipping cream with the two types of baking chocolate bars, broken into chunks. Stir frequently over low heat until the chocolate has melted.  Remove from the heat and set aside.

Heat the half and half in a larger pan over medium heat until bubbles start to form around the edges.  You don't want to boil the half and half.  Just warm it up and set it aside.


Whip the yolks until a smooth yellow and then add the sugar and cocoa powder.


Start to mix slowly so you don't make a chocolate powder mess.  Mix until well blended.

Now you have to temper the eggs and warm them up without making scrambled eggs.  Add a small amount of the chocolate milk to the eggs while continuing to whip them.  Then do it some more.  Keep drizzling in the chocolate milk until it is all mixed in. 


Add the half and half while whipping.


Return the whole shebang to the larger pan and heat until bubbles form.  Stir frequently.  Remove from the heat and add the rest of the whipping cream, vanilla and salt.  Stir to mix.

Pour the ice cream mixture into a large bowl, cover and chill for 8 hours.  I didn't do the 8 hour thing.  I placed the covered bowl in the freezer and stirred it after one hour.  Then I stirred it every 15 minutes until it had been in the freezer for 2 hours and set up the Kitchen Aid mixer.


You have to start the Kitchen Aid mixer before you add any of the ice cream mix.  Once it is going on STIR speed, pour in the ice cream mix and let it run, according to the instructions. It takes at least 20 minutes.


While it was running I cut the brownies into small bites and heated up the fudge topping to make it easier to swirl in the ice cream.


The Kitchen Aid started to make a noise and struggle, indicating it was done.  Also the ice cream expands and fills the mixer when it is done.  At this point I needed help.  Lee poured the ice cream into a large container and I added some brownies half way through.  I also added a few large dollops of fudge and swirled it around.  Lee poured the rest and held the mixing bowl while I scraped out the last of the ice cream.


I added the rest of the brownie bites and the fudge and swirled and mixed.  Then we all ate a small bowl.  The rest went into the freezer for the next day.


The batch of brownies made more than I needed for the ice cream, so of course I had to make some brownie sundaes!  Wouldn't you?


A brownie was placed in a large bowl and scoops of ice cream were placed on top.  My friend noticed that I had some salted caramel ice cream topping in the refrigerator.  Naturally she insisted that we drizzled some on top of her sundae.  I didn't want her to feel like a total PIG, so I drizzled it over EVERYBODY'S .


And it was darn good.